
Contact us
Fill in your details, and we'll be in touch soon.
Fill in your details, and we'll be in touch soon.
För instruktioner på svenska, klicka här.
Through our integration with Danske Bank, you can quickly and smoothly make payments, check payment status, perform account reconciliations, and retrieve account and balance information directly from your financial management system. This integration is done using PSD2 (Open Banking) APIs and ISO (ISO 20022).
To get started, you first need to ensure that your financial management system is connected to Open Payments.
Activation of services via PSD2 (Open Banking) is done directly in your financial management system. Just make sure you’ve logged in with BankID to your company’s online bank first.
To activate services using ISO, contact your local Danske Bank office, via phone or visit, to set up an agreement with Open Payments as a service bureau.
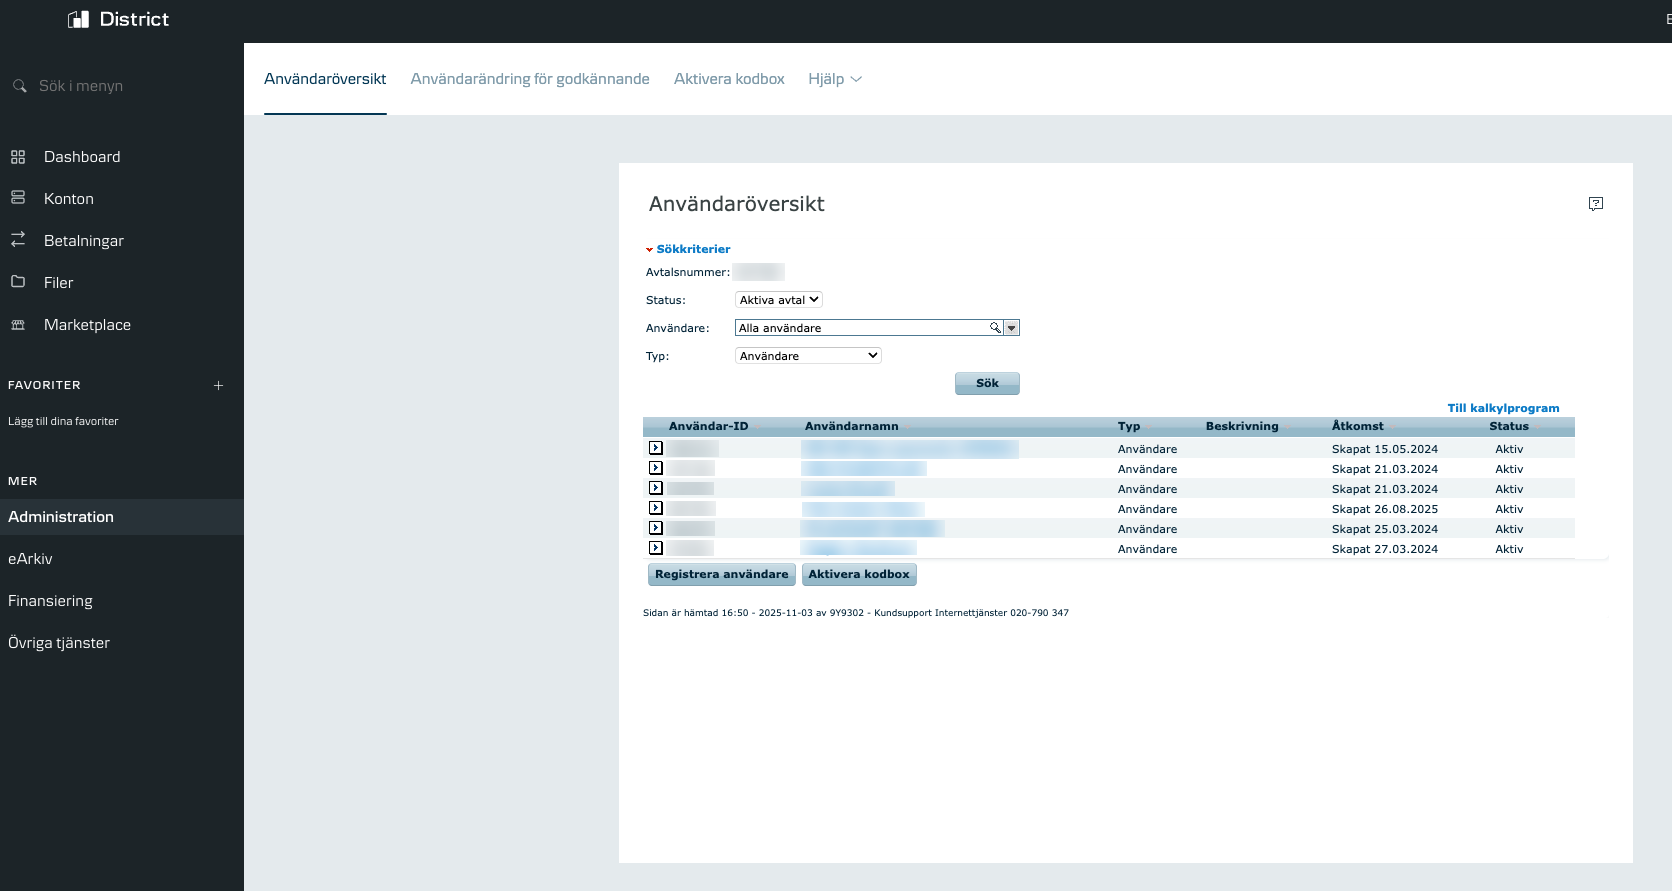
1. Go to "Administration" in the online bank.
2. Click on a user and then on "Change permissions...".
%20(1).png)
3. There will be 6 steps to go through:
%20(1).png)
4. In the 5th step, select the permissions you want the user to have.
%20(1).png)
5. In the 6th step, click “Finish” and sign the new permissions.
%20(1).png)

Open payments Europe AB is a Payment Institute under the supervision of the Swedish Financial Supervisory Authority. Copyright © 2019 Open Payments Europe AB. Cookies